One month ago, we finished our calf barn and I sat down with Matt and picked his brain. I admit, I love it and wanted to share it with all of you! Previously, after a calf was born, we moved it from the maternity barn to it’s own calf hutch. Now it moves from the maternity barn to its own pen in the calf shed. Just like the hutches, the calf will remain in the calf shed for 60-75 days until it is weaned and then moved into group housing. To read more about why were separate the cow and calf, click here.
Before we built the barn, Matt did tons and tons of research…..from deciding to go with a post structure over a fabric cover, dimensions, flooring, stalling, ventilation, etc. After all the research, it’s time to tell you about our barn and share pictures!
Dimensions: The calf shed is 32′ x 72′ and has 29 individual calf pens.
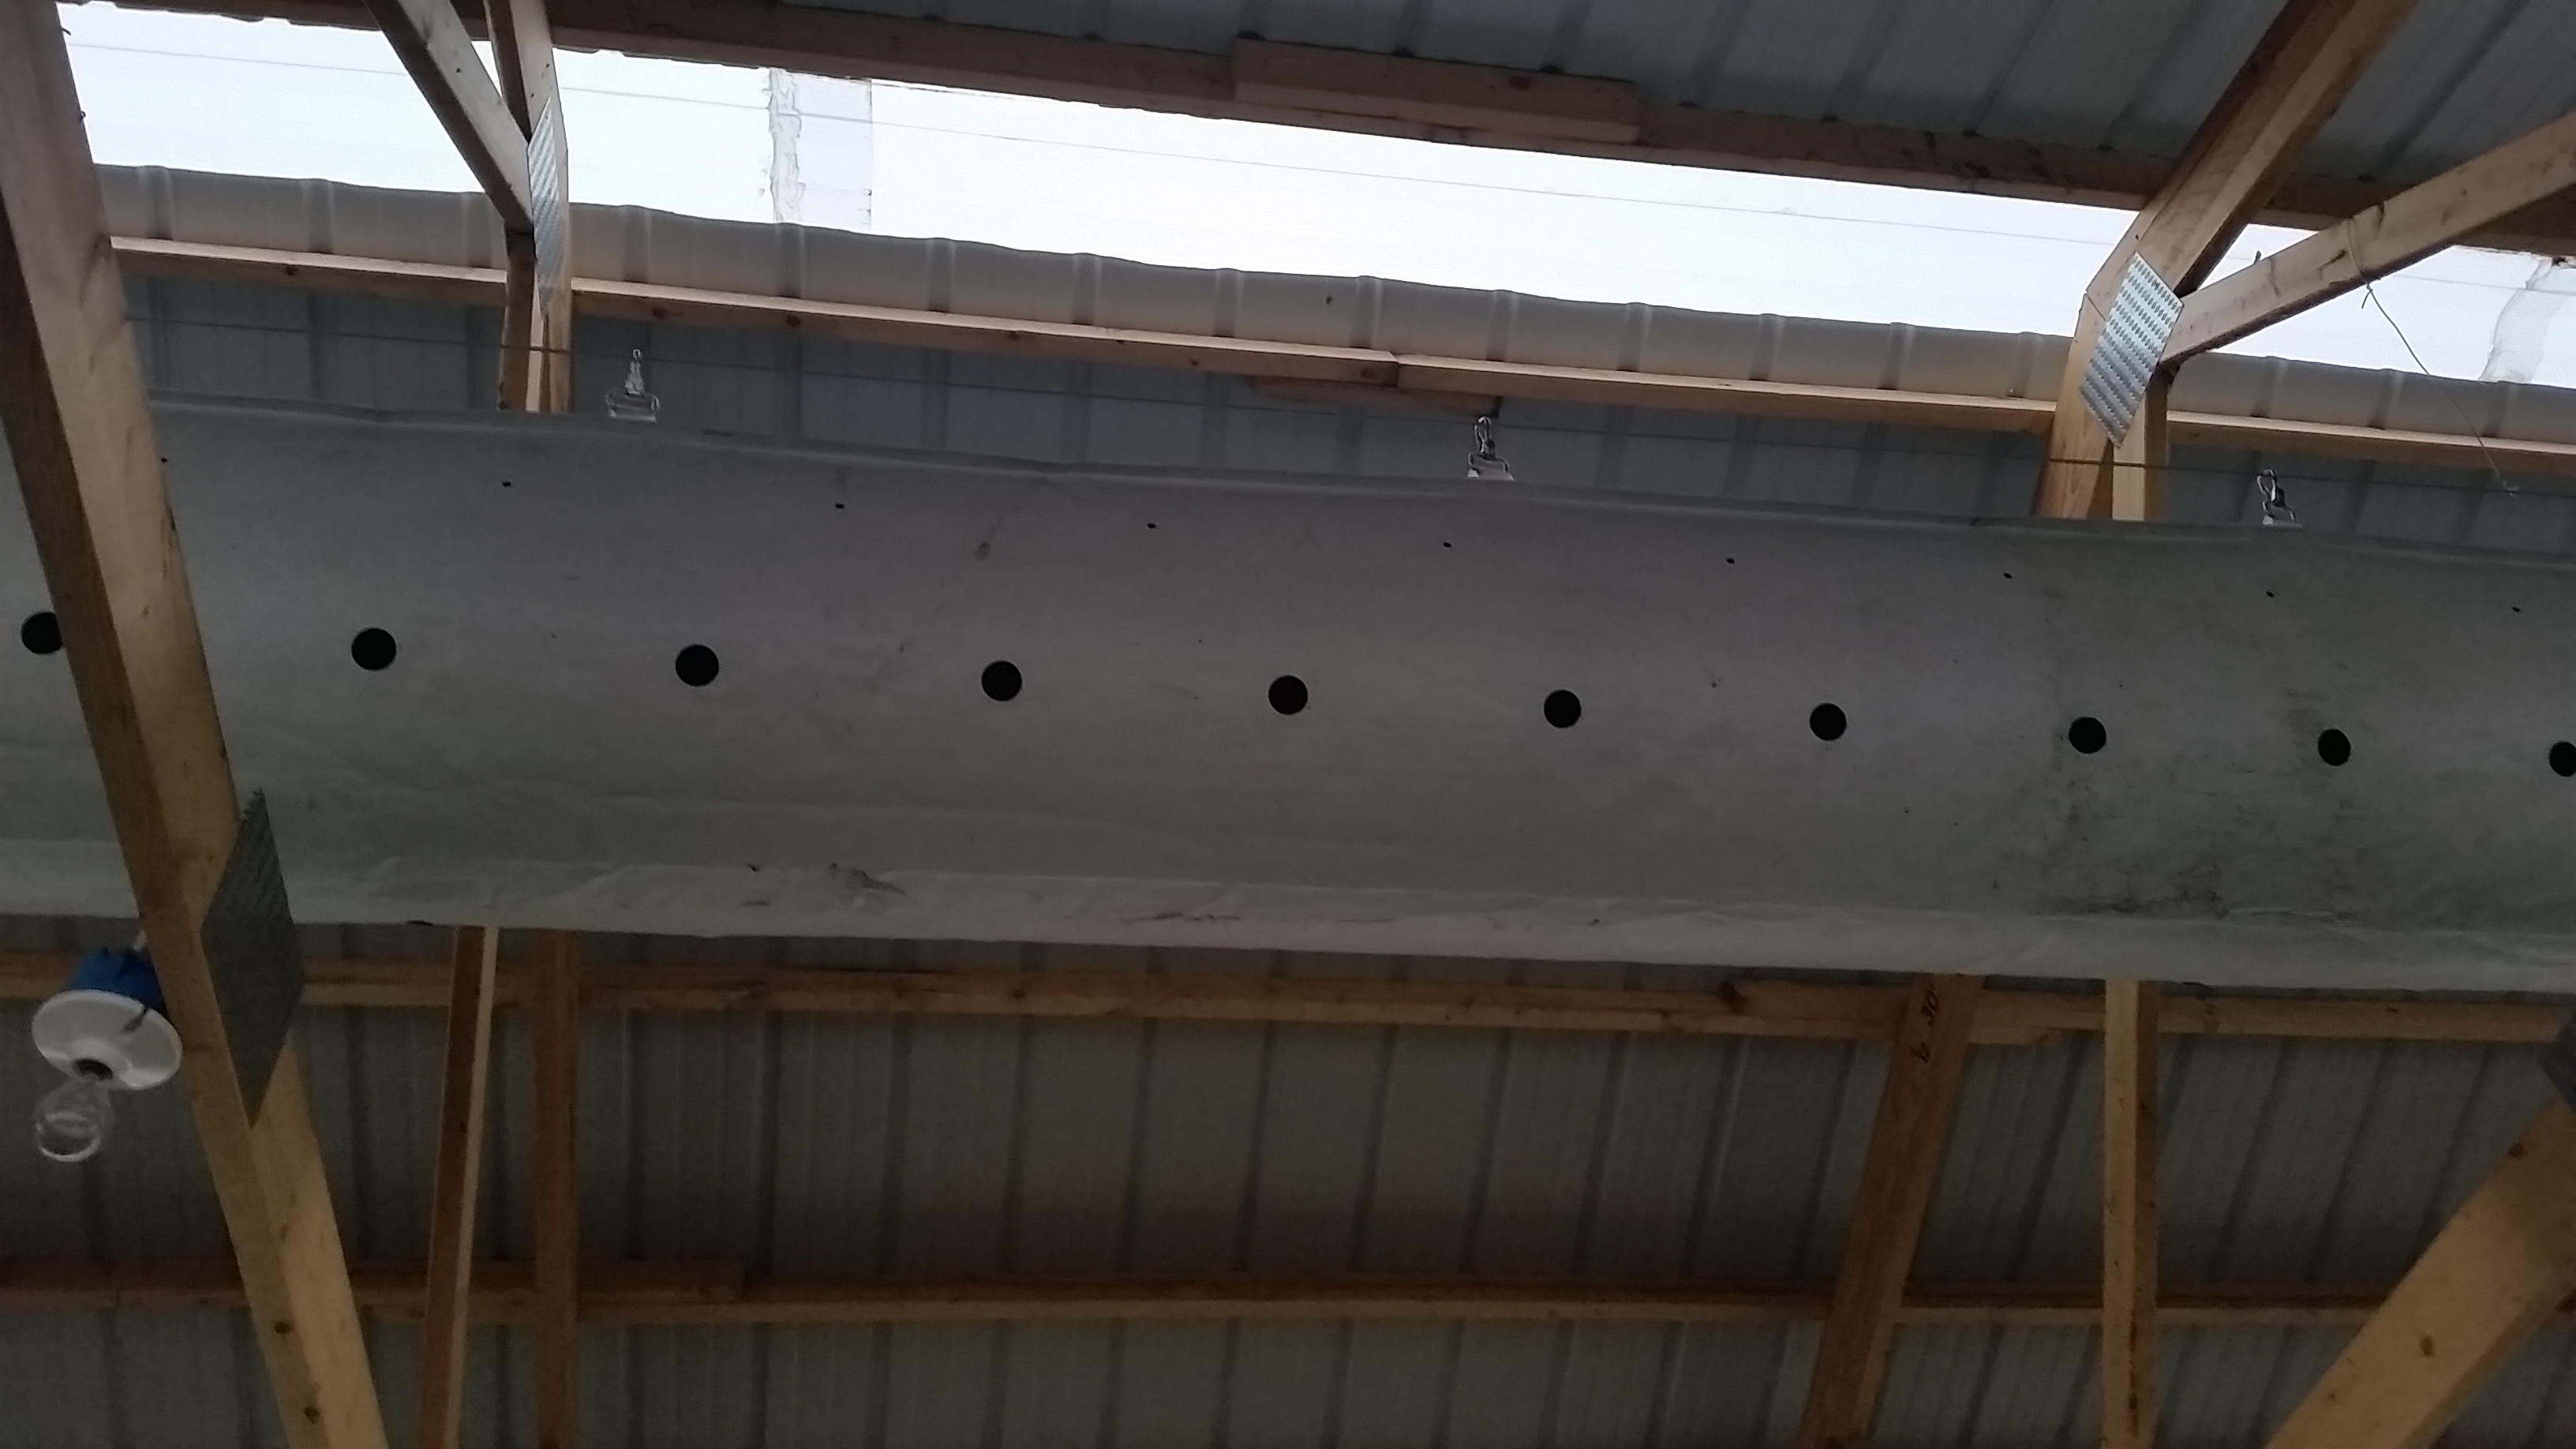
Barn’s ventilation.
Ventilation: The ventilation is the most important part of keeping calves healthy. Our barn is equipped with a positive pressure ventilation system that runs 24/7. It consists of a 19″ diameter tube that is 10′ above the concrete in the center of the barn. The capacity of the fan is about 2500 cfm, the tube has holes cut at 5 and 7 o’clock spaced at 11 inches apart. At this spacing, it will put fresh air that is the same temperature as outside at the front of the stalls and therefore eliminate any draft that could chill the calves. It took some fine tuning but is set now.
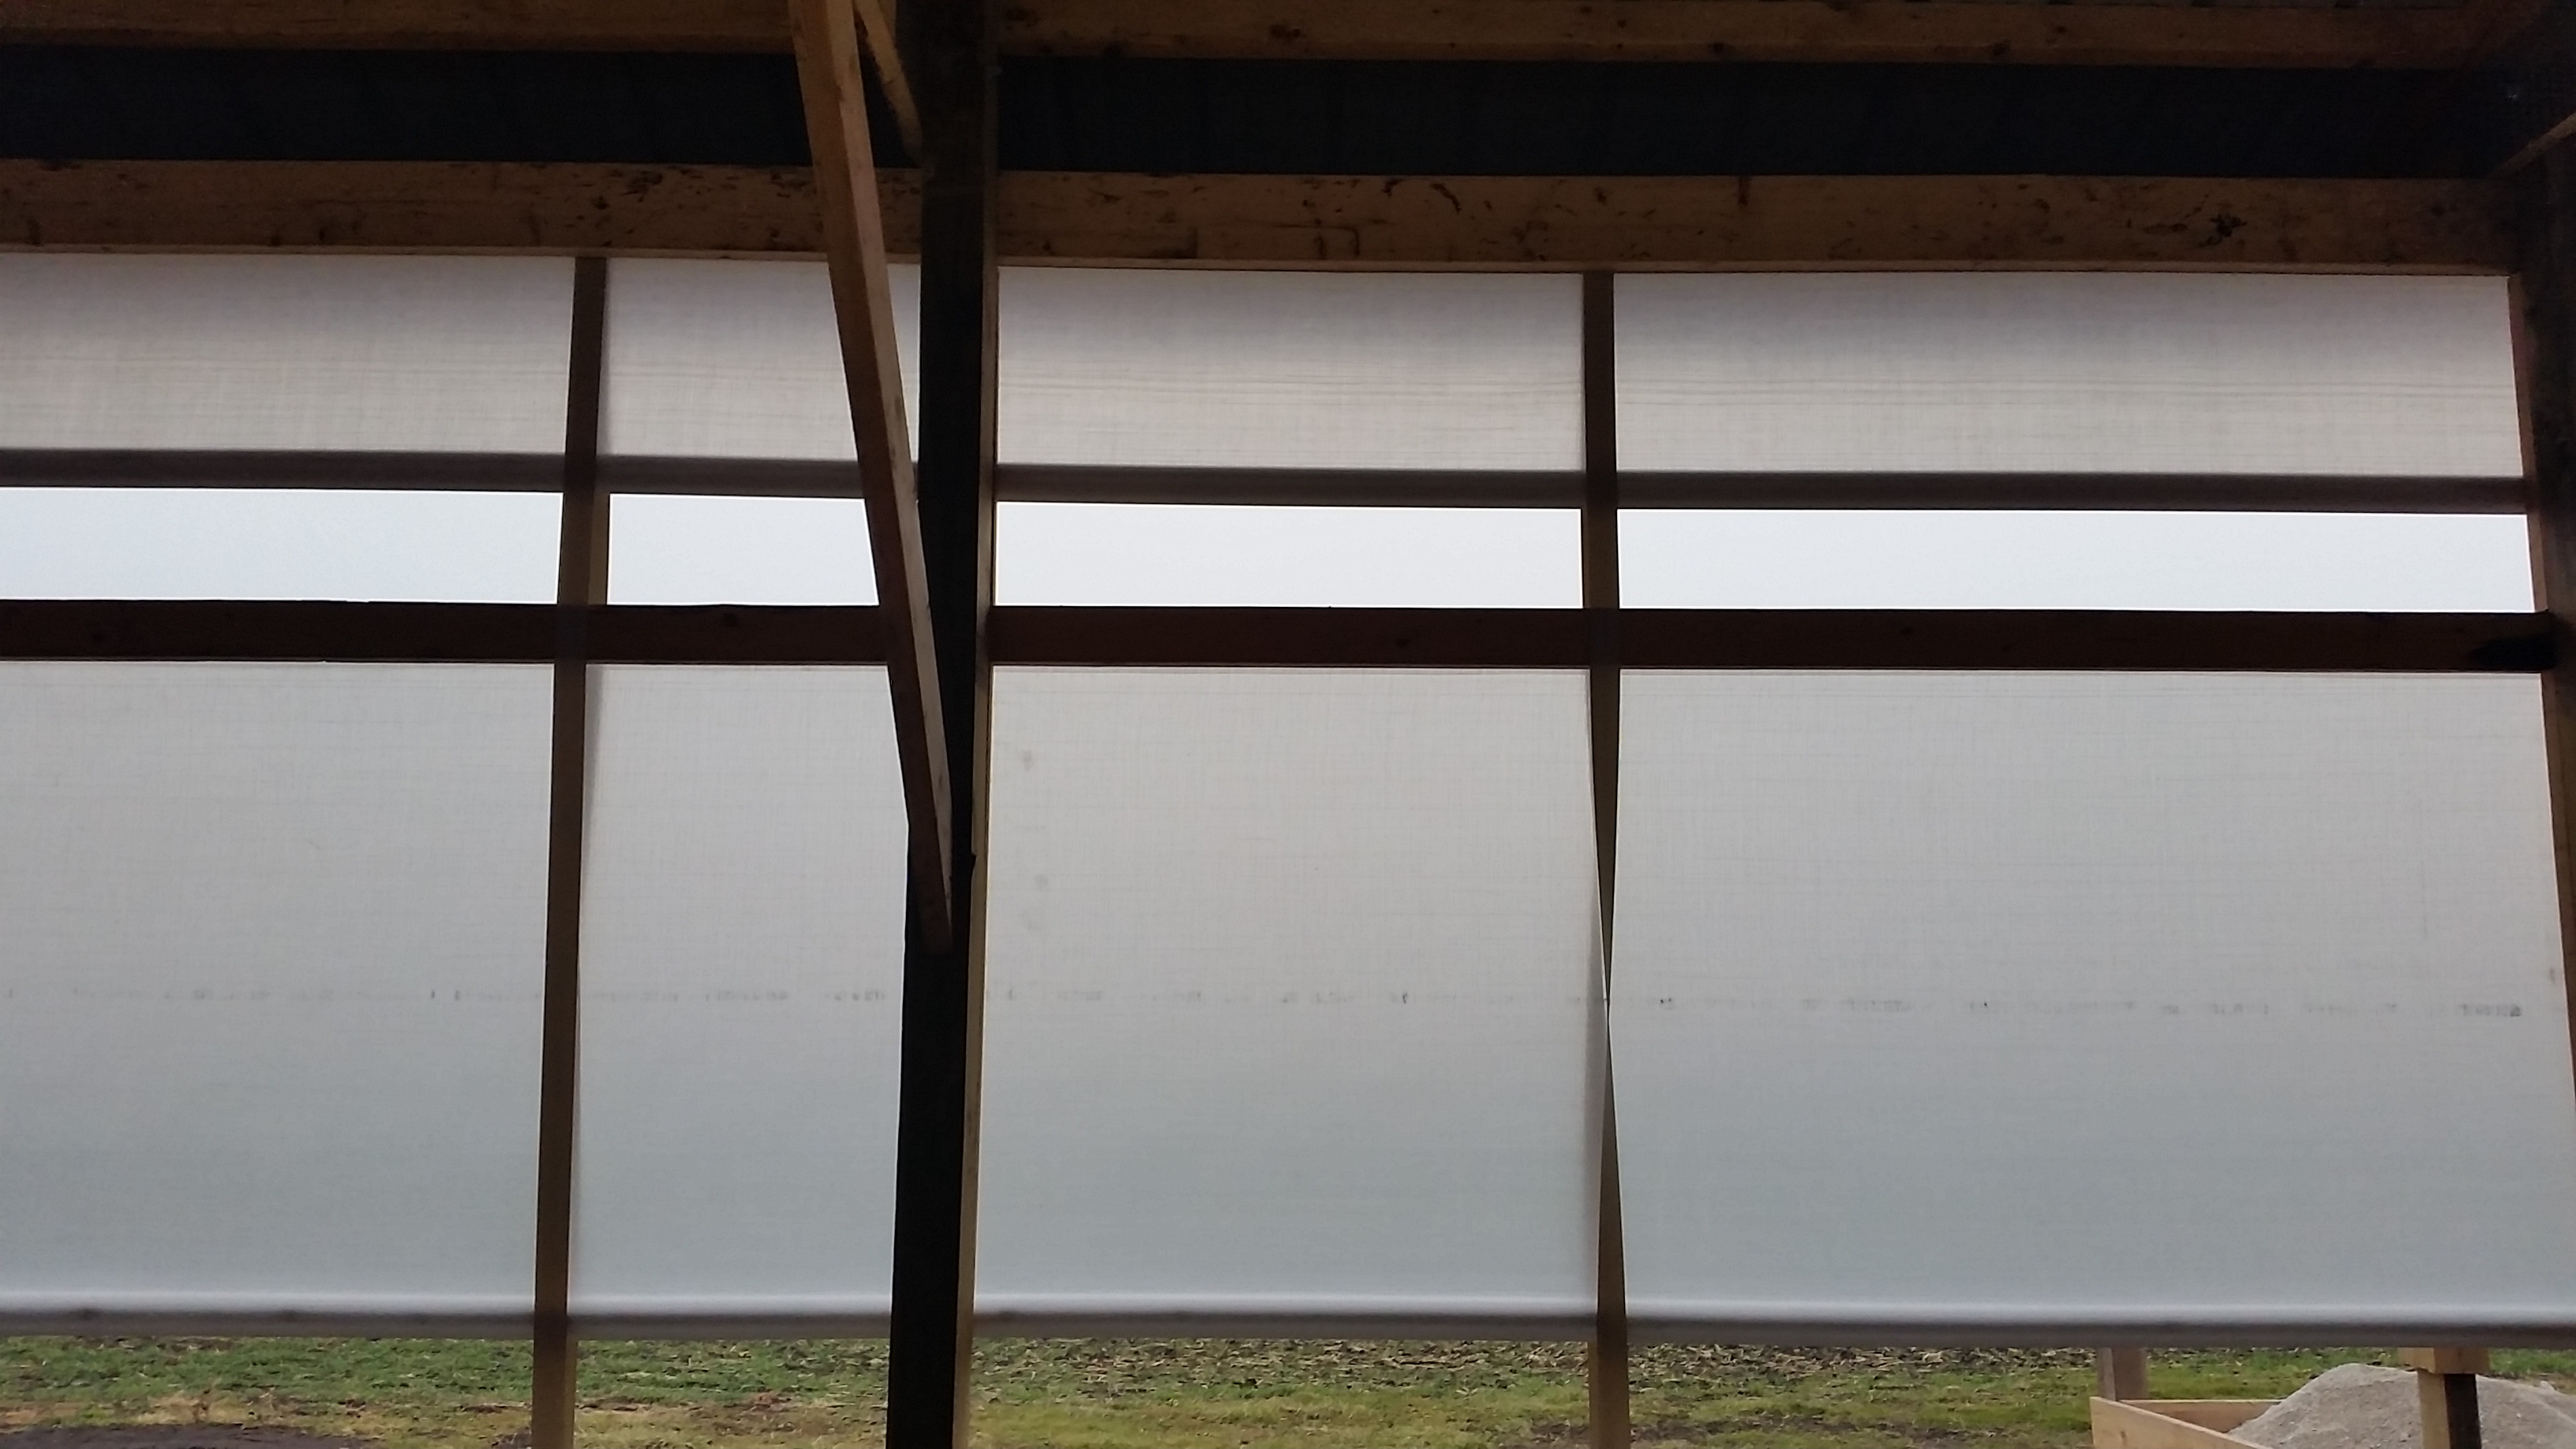
Double roll-up curtains.
Walls: The sidewalls are double roll up curtains. The top one is 18″ and the bottom one is 6′. This is crucial because you can open the top curtain to bring in fresh air and once again keep a draft off the calves. Barn temperature isn’t a concern. Our goal is to have fresh air since there are several animals sharing an air space.
Post Structure: I chose to go with a post structure over a fabric cover because it offered more flexibility to be able to hang lights, fans and the ventilation tubes. An advantage of the fabric cover would be more light and research shows that the calves rate of gain is better. The barn was designed, so we can easily add onto the west end if we need too.
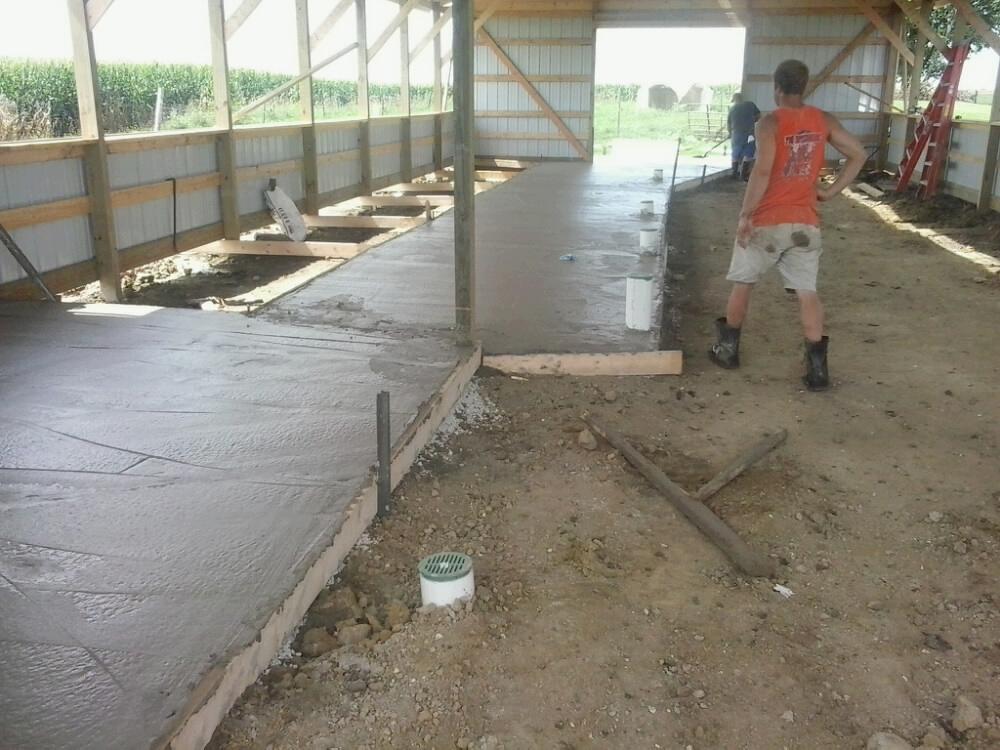
18′ concrete center isle.
Floor: There is a 18′ center isle that’s poured concrete, each half slopes 4″ towards the center drains. Under the stalls, we dug down 3′ and put down large rock and the top 6″ is pea gravel to help with drainage and reduce the amount of bedding needed.
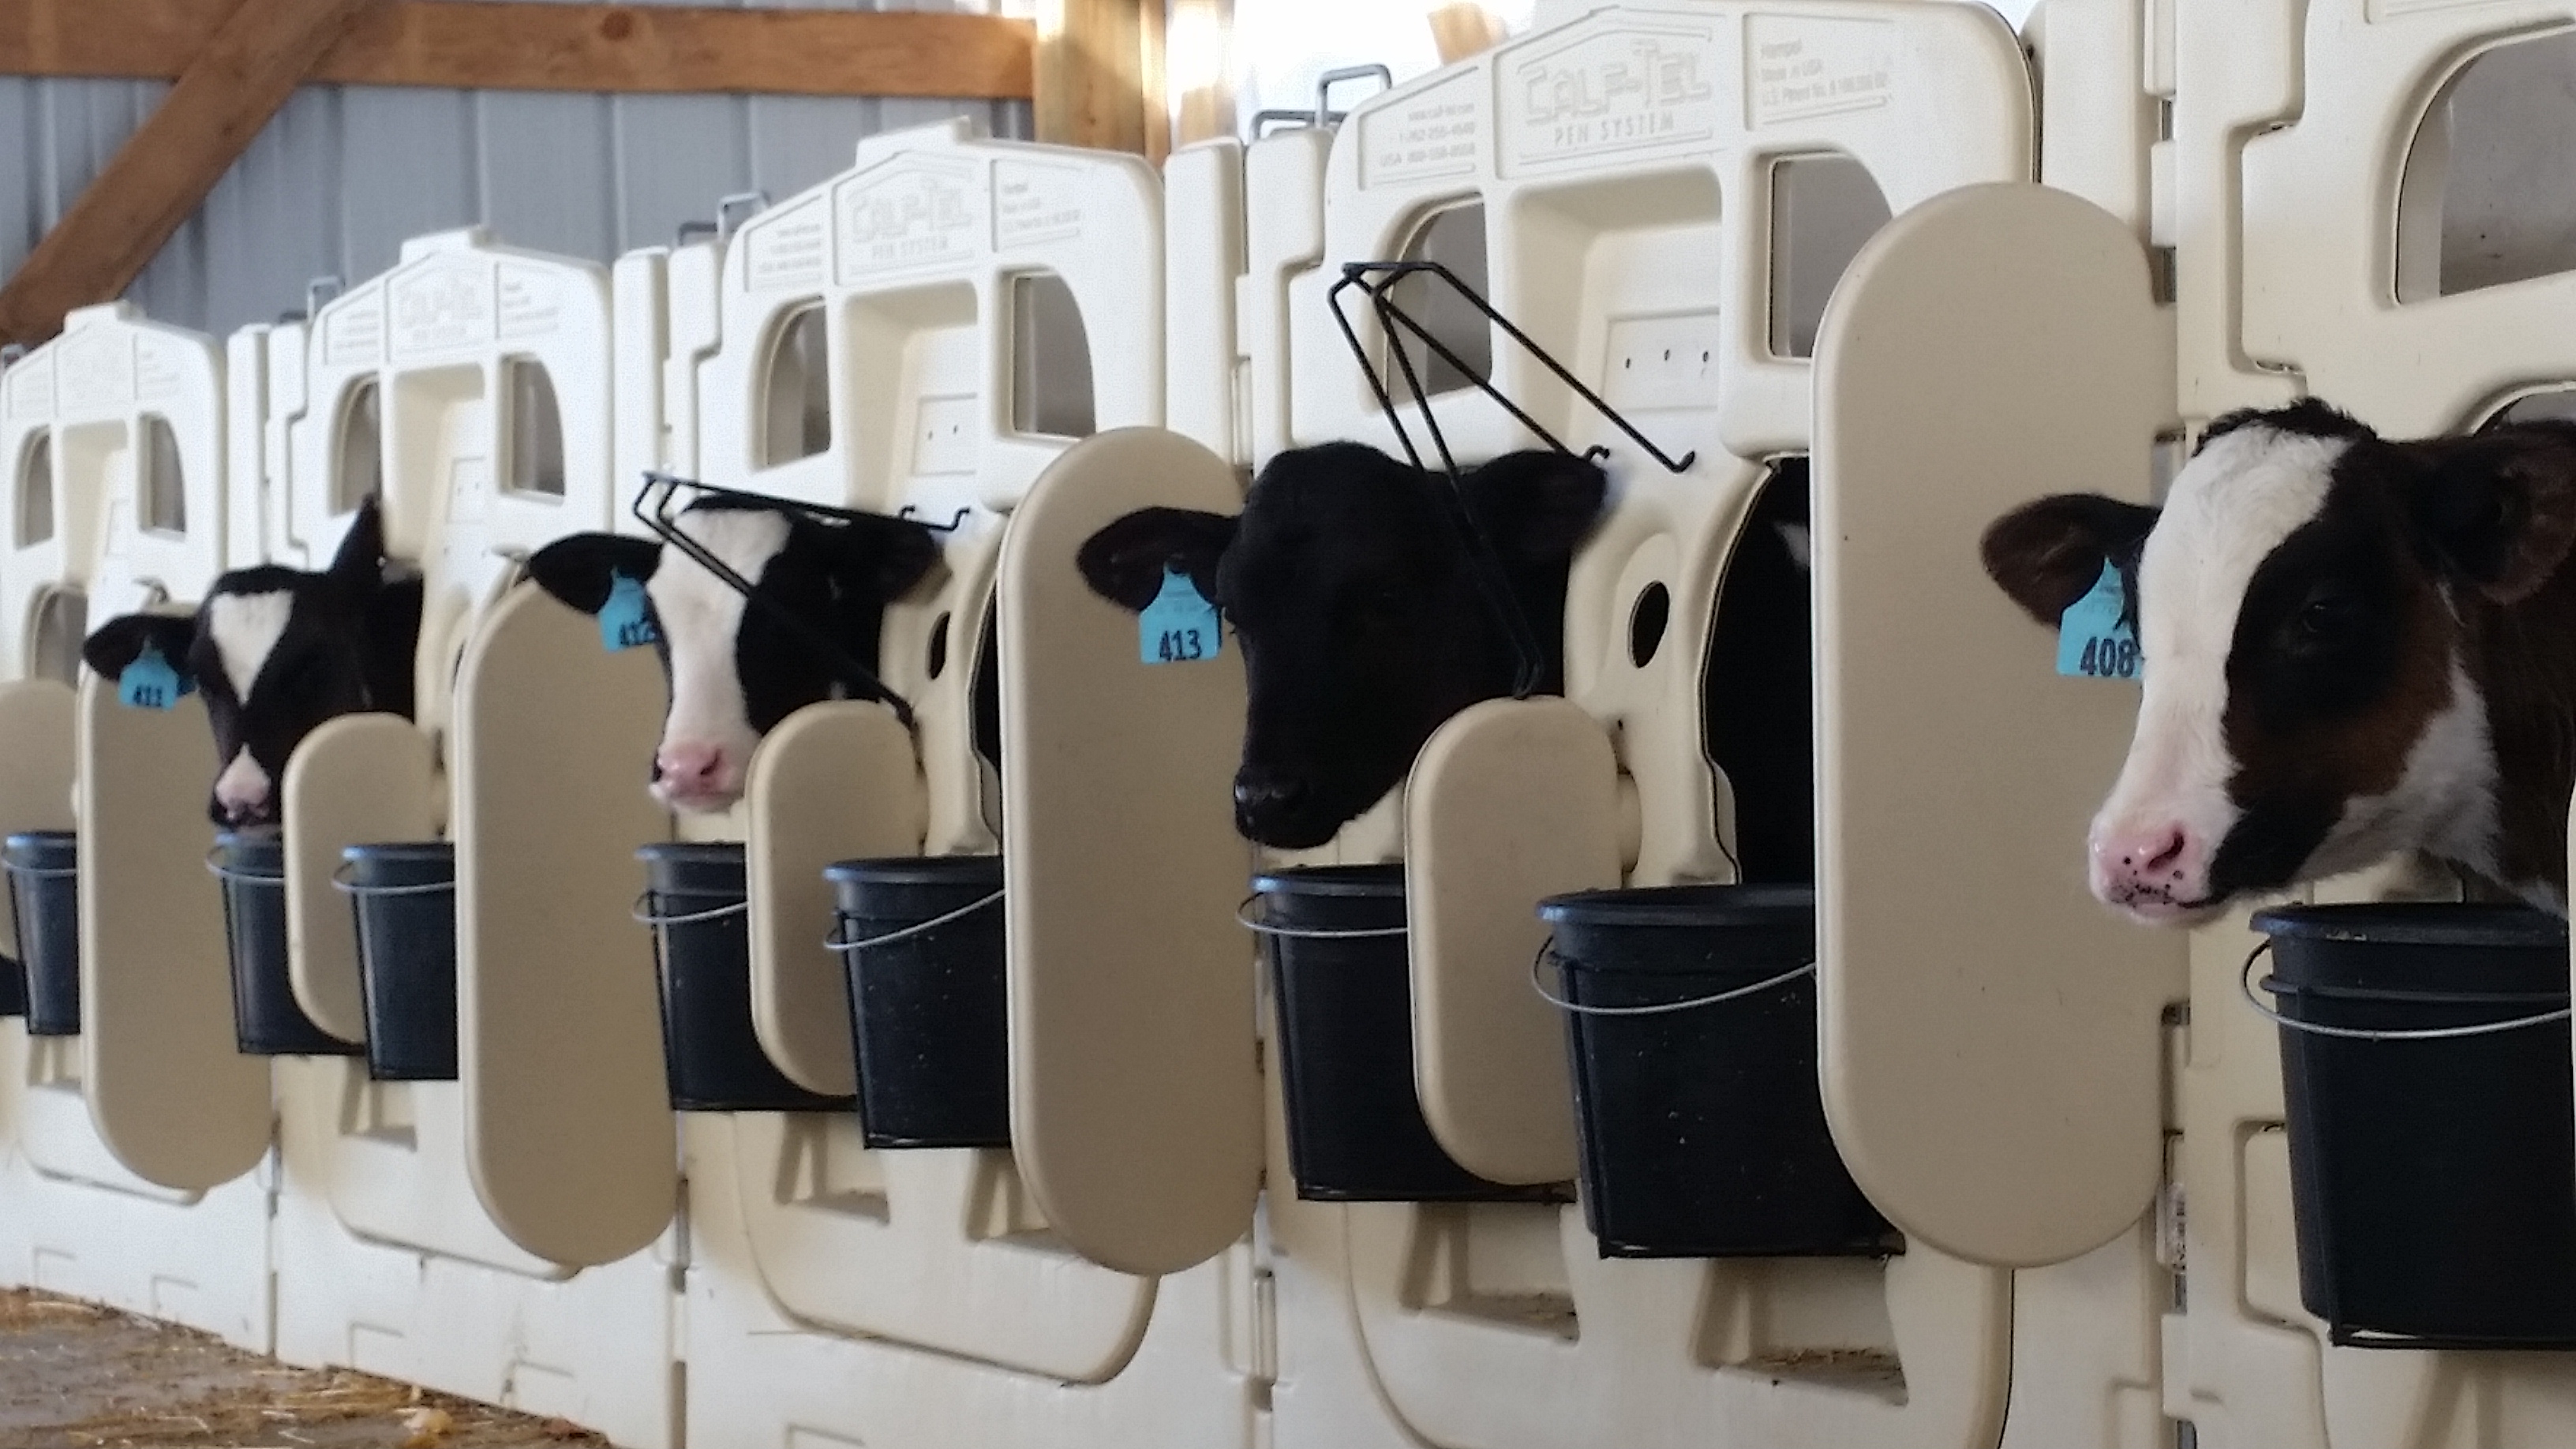
Individual stalls: There are tons of companies that make stalls, we went with the Calf-Tel pen for a couple reasons. First they are free standing and don’t require posts to be poured into concrete which allows us to remove stalls and bring the skid steer in to clean them. Second, they are all plastic, which should last longer than steel gates and posts. Third, you can easily pressure wash them. The stalls are attached to the back wall with just a steel rod for easy removal. The wall is covered with poly board that will also pressure wash easily. I purchased the stalls through Animart because they gave me a great price and were easy to work with.
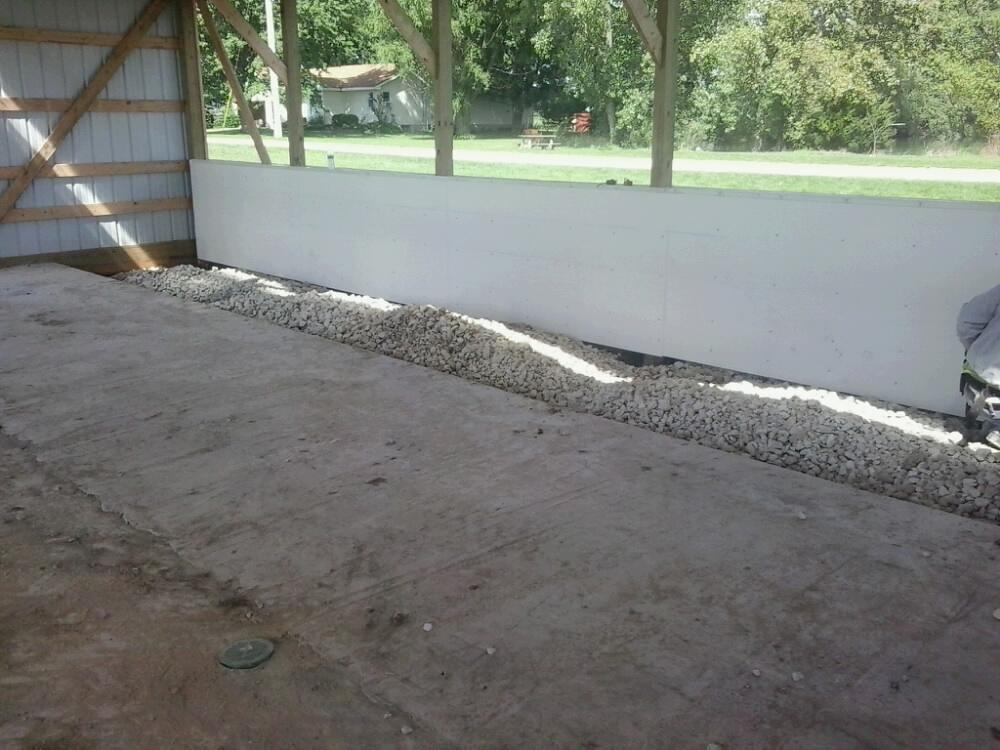
Poly board.
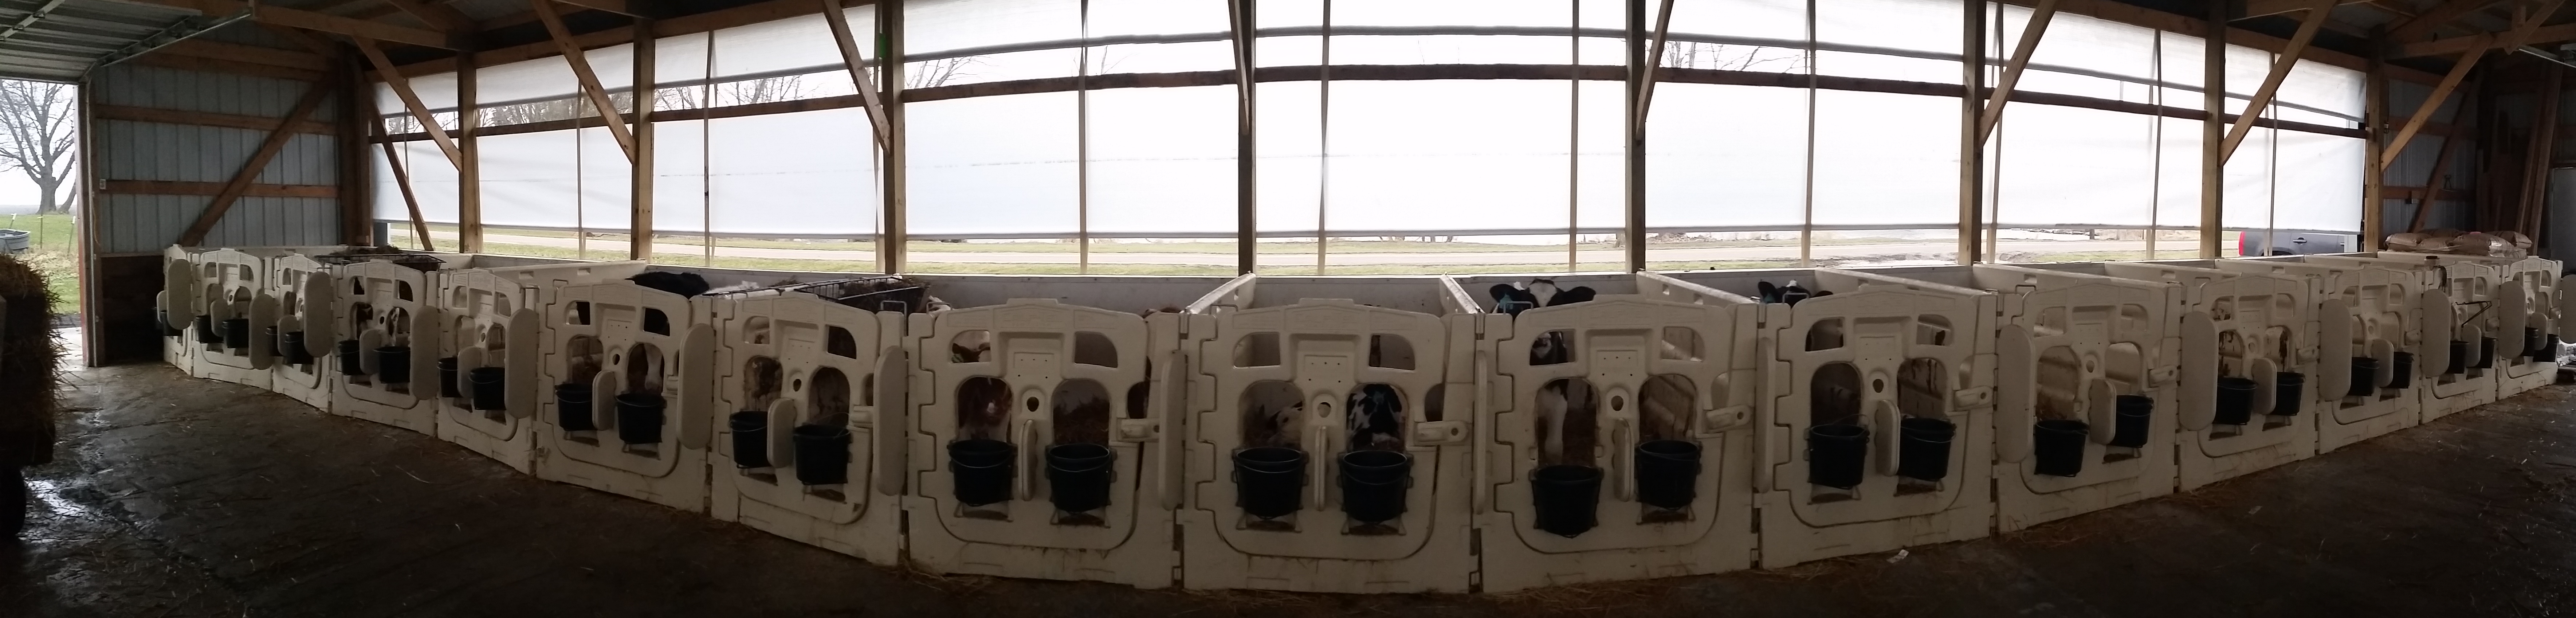
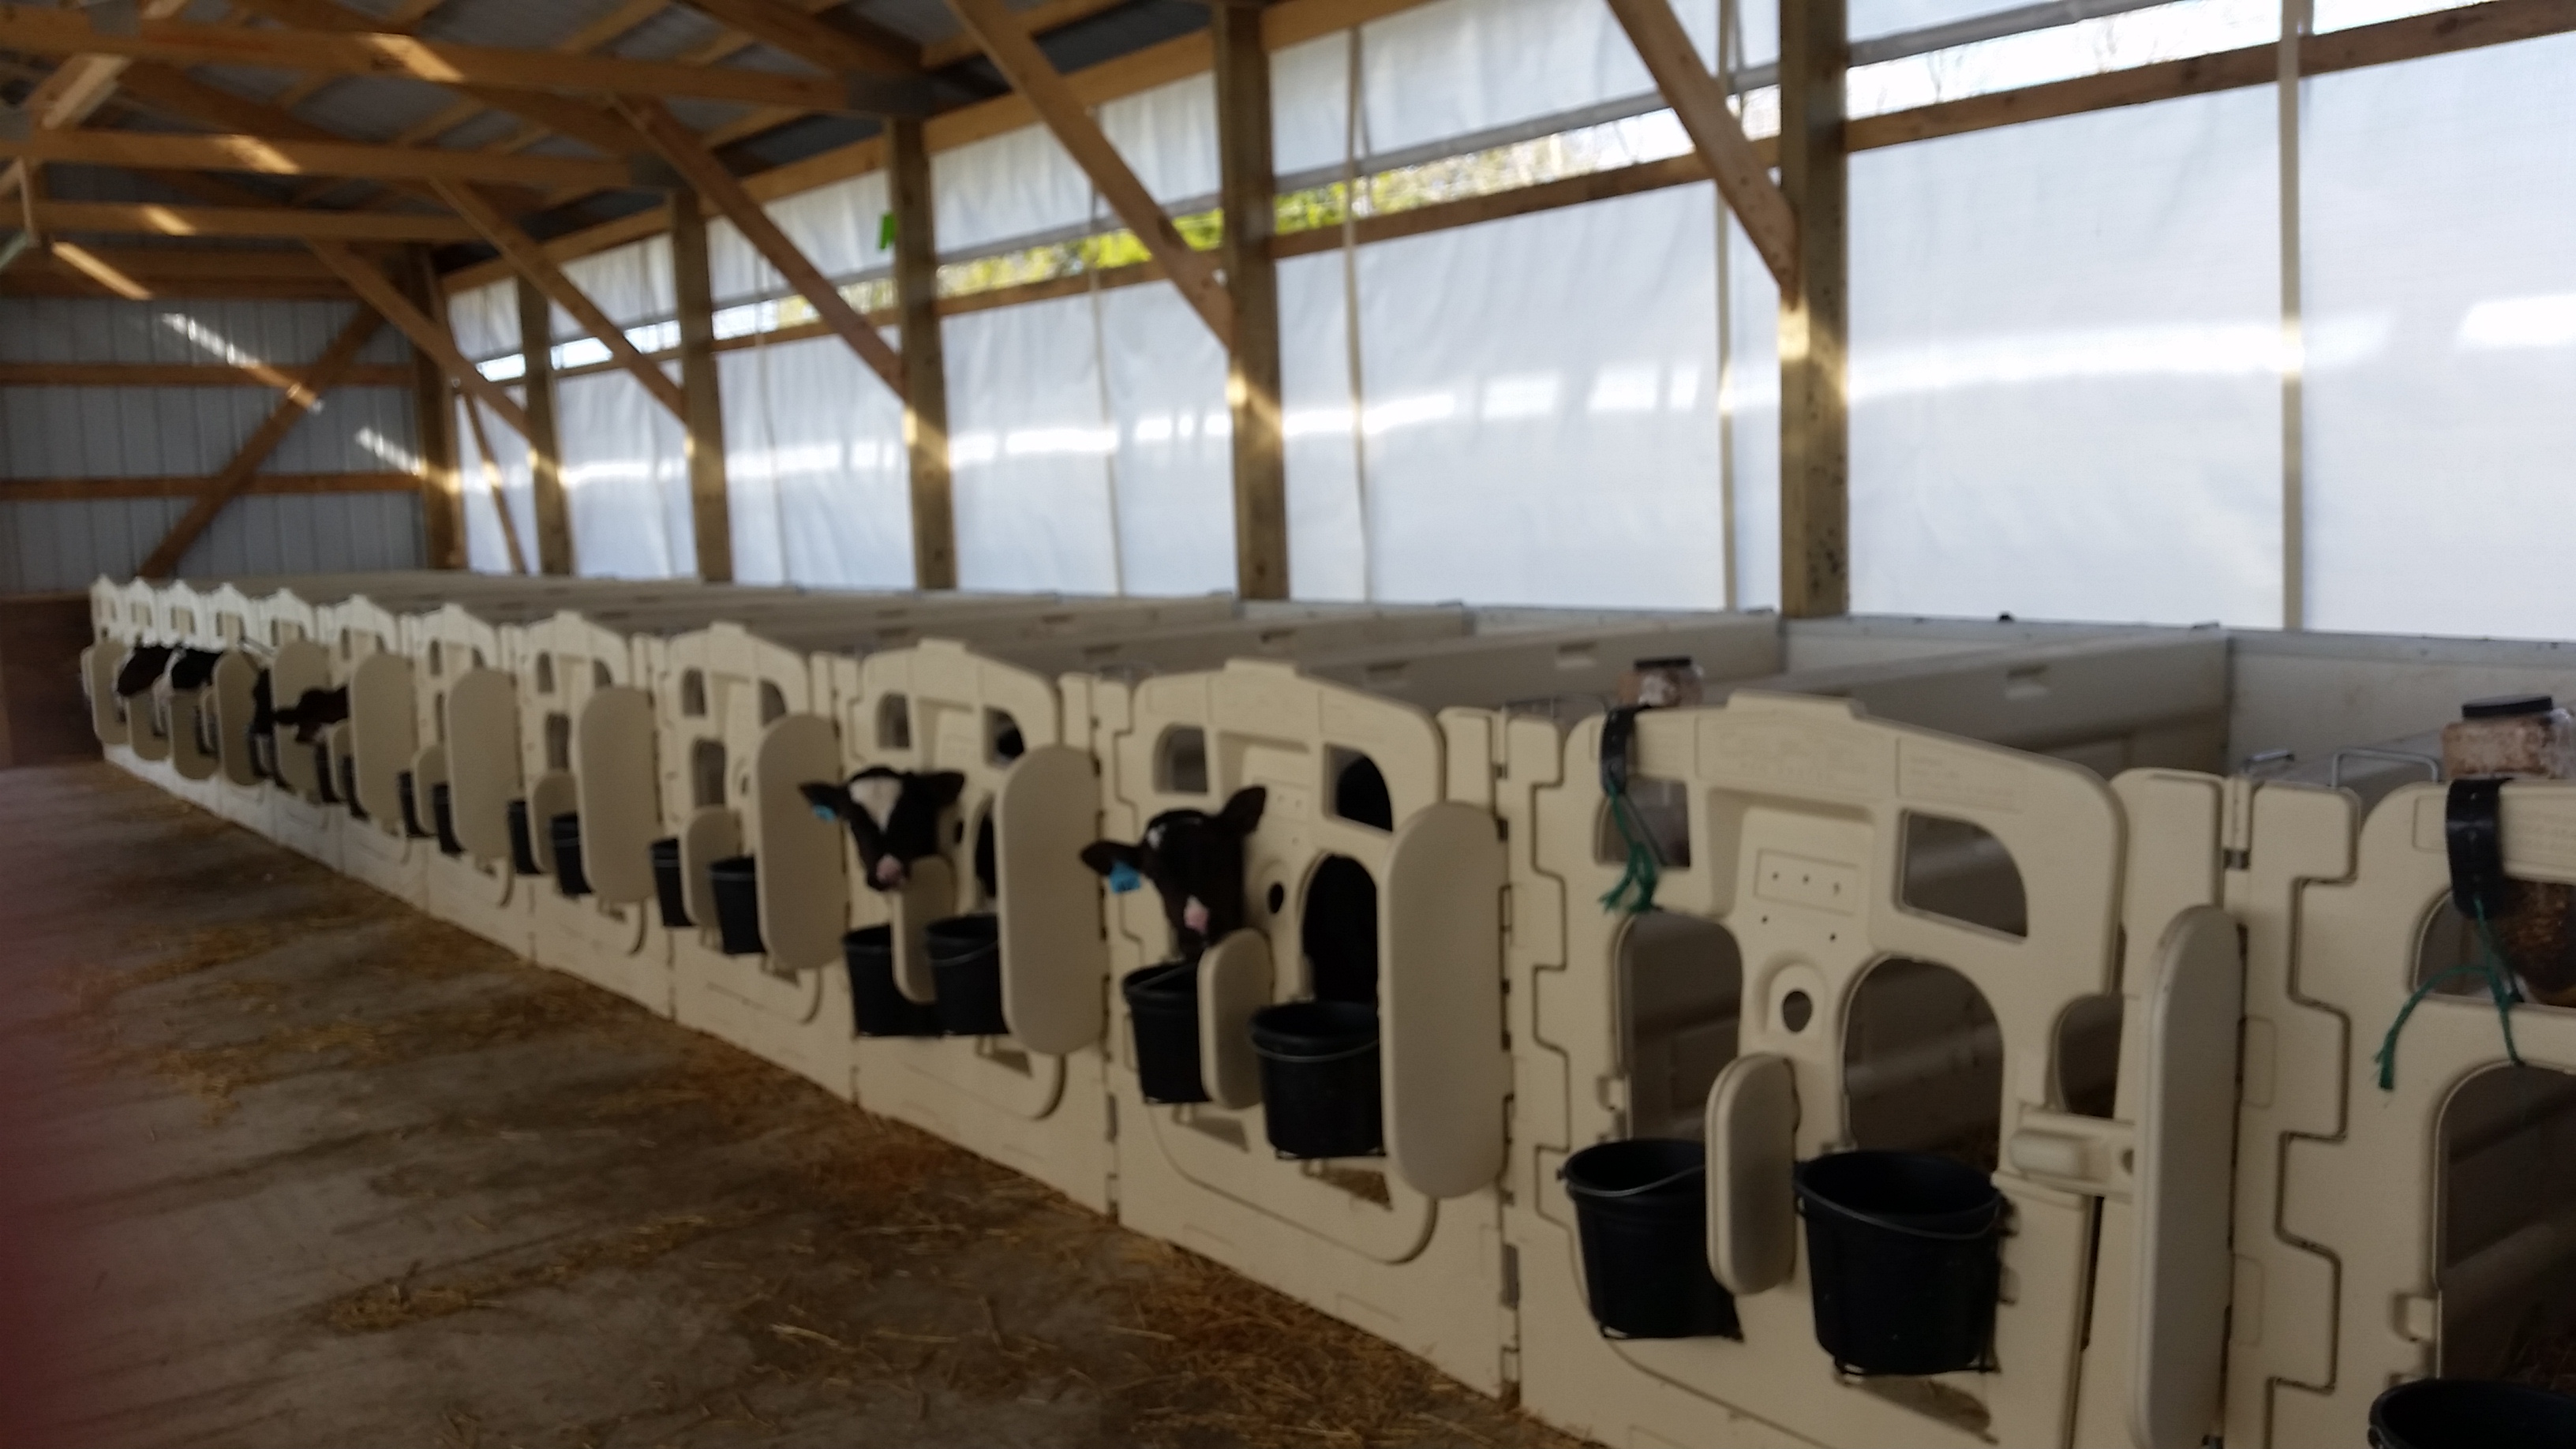
Panoramic view of the north row of pens.
Matt says he has no regrets, and as of now wouldn’t change anything. As for recommendations he says, you can never do too much research. If you have any questions or want more information on our calf barn, please leave us a comment or email us.
Mary